LaskaKit LBot - robot kit
Code: LA180038BL LA180038R Choose variant


Product detailed description
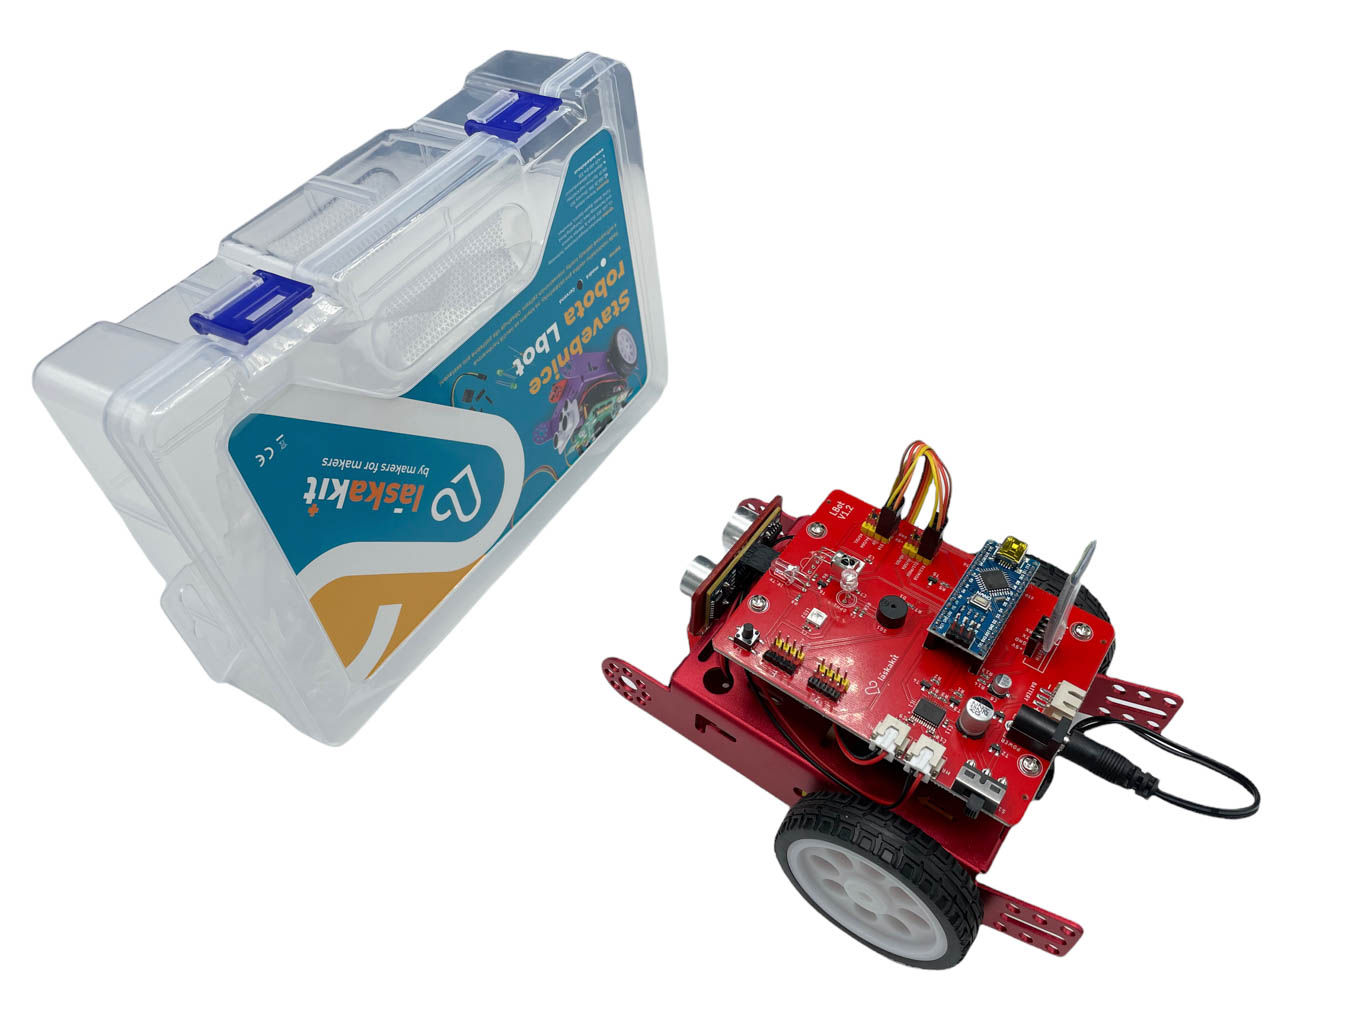
LaskaKit LBot is a programmable robot kit designed not only for children, but for everyone who is new to programming similar devices. Thanks to its simple construction, the choice of parts used and our instructions, its assembly is a breeze and even children can handle it. It is built on the very popular Arduino platform, specifically the Arduino NANO with an Atmega328P microcontroller. The software is developed in the same way as for other Arduinos in the Arduino IDE. So there is a wealth of libraries, code, examples and information available to make programming easy and fun. All the basic examples to get you started with programming are also included in our manual.
In the supplied kit, the LBot can follow a route prepared by a line tracked by a pair of optical sensors, avoid obstacles thanks to an ultrasonic sensor measuring the distance from the obstacle, blink, light up with two tri-colour LEDs, react to the intensity of the ambient light and make itself known audibly with a piezo buzzer.
The LBot can be controlled via infrared remote control or from a mobile phone app via Bluetooth module. The LBot also includes an infrared transmitting LED that can be used for remote control of other devices. There is also one button on the motherboard that can be used programmatically for various functions, e.g. switching different modes.
A key feature of the robot is the presence of four ports to which a large number of different add-on modules and devices can be connected. Another is the chassis made of aluminium sheet and, in addition to being very robust, it allows the assembly of various structures and equipment thanks to the various holes and threads. You can build any design you can think of!
The robot is powered by four AA batteries in a handy holder with a standard 5.5/2.1mm round power connector. The robot can therefore be powered from different sources.
The LBot comes with our demo software, which allows you to ride it immediately after setup using the infrared remote control or from your mobile phone via Bluetooth and never hit any obstacles, because the software monitors obstacles in front of you with an ultrasonic sensor, stops at a safe distance in front of the obstacle and backs up a bit to make it easier to get around the obstacle. Another feature in this basic mode is that if the ambient light intensity drops, the two tri-colour LEDs light up white and if the intensity rises again, they automatically turn off.
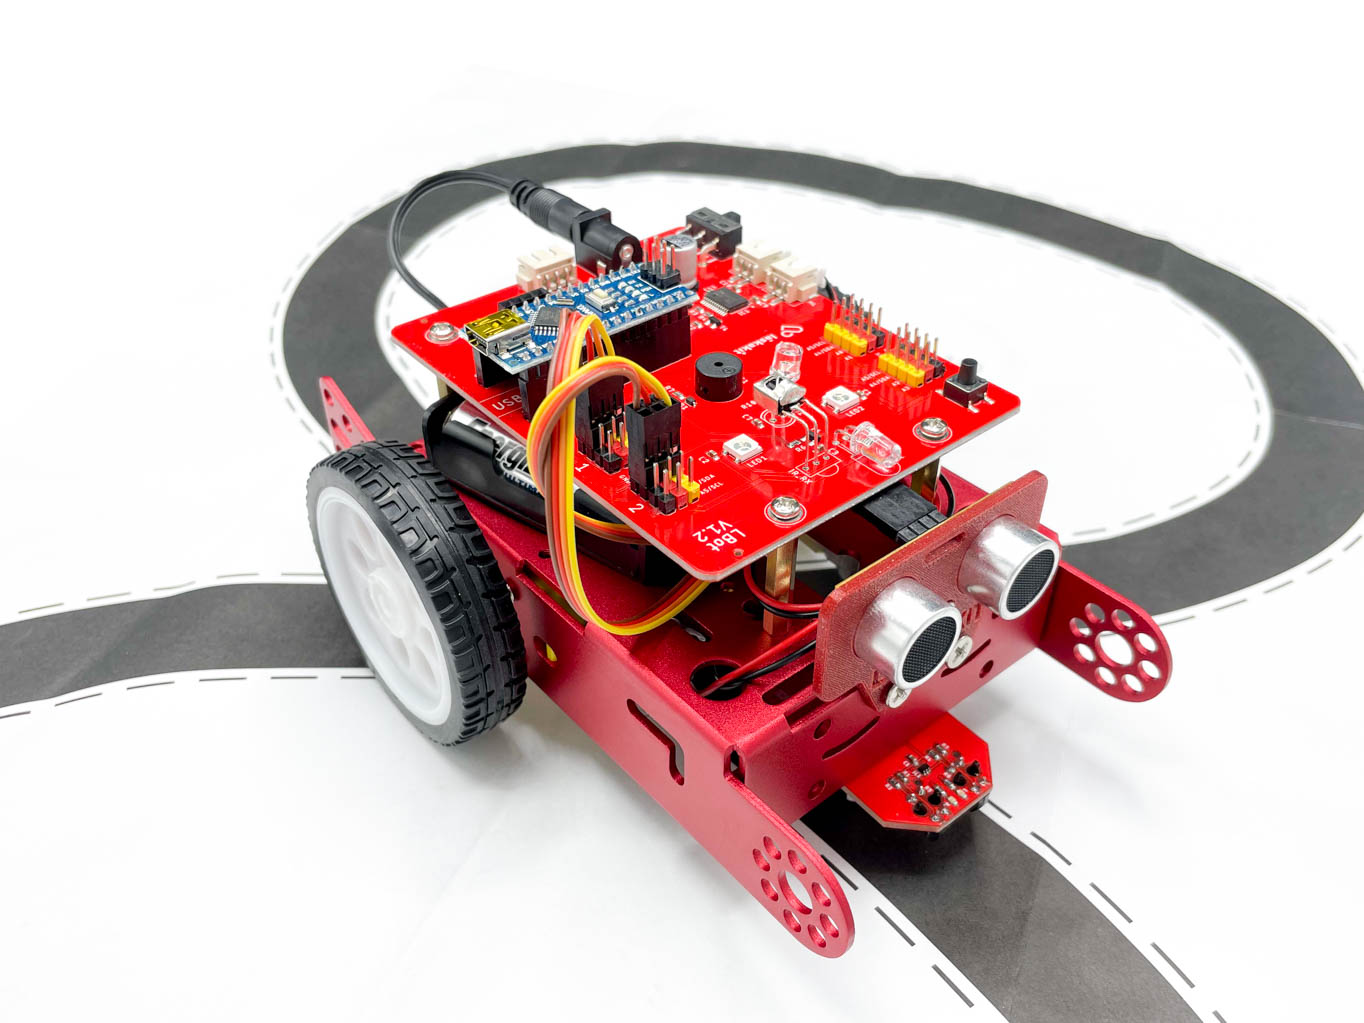
With a button on the motherboard or a button in the app on your mobile phone/tablet, you can switch the robot to line following mode and LBot will start driving your prepared route. Pressing the button on the motherboard or the button on the mobile phone/tablet app repeatedly will exit the line tracking mode and return the LBot to the basic mode. The 0 button on the infrared remote control has the same function.
Follows the line
Avoids obstacles
Operated by infrared remote control
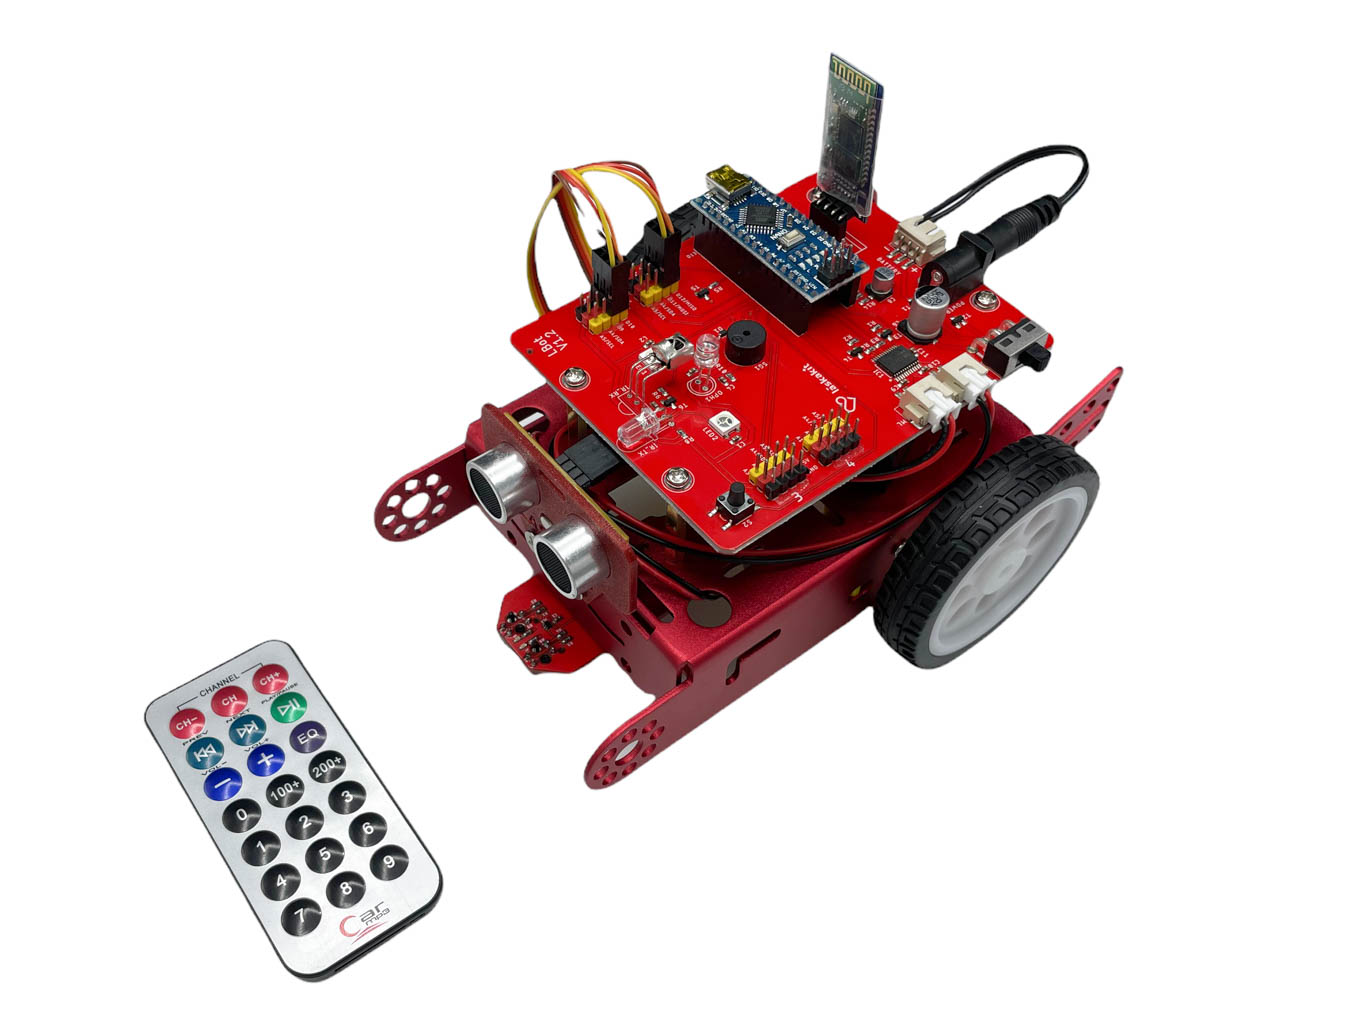
List of components in the kit:
| Item | Number of | |
| Arduino Nano R3, ATmega328P Clone, Soldered pins | 1 | |
| Bluetooth module HC-06 TTL | 1 | |
| LBot motherboard | 1 | |
| 4xAA battery holder with 5.5/2.1mm connector | 1 | |
| Ultrasonic distance meter HC-SR04 | 1 | |
| Dual-channel infrared line tracking sensor | 1 | |
| MBot chassis clone - chassis, engines, wheels | 1 | |
| IR universal remote control 21 buttons - Audio/Video | 1 | |
| CR2025 Lithium battery 3V | 1 | |
| Connection cable for ultrasonic sensor | 1 | |
| Connection cable for line tracking sensors | 1 | |
| miniUSB cable to PC 78cm | 1 | |
| Printed holder for ultrasonic sensor | 1 | |
| Universal swivel ball N20 | 1 | |
| Spacer M-F M3x25mm | 4 | |
| Screw M4x6mm | 2 | |
| Screw M3x25mm | 4 | |
| Screw M3x6mm | 4 | |
| Screw M4x8mm | 2 | |
| Plastic screw ⌀2,2x16mm | 2 | |
| Nut M3 | 4 |
Delivery components:
- 1pc LaskaKit LBot - robot kit
Remark:
- AA batteries are not included.
- This product is not a standalone functional unit and may require professional installation.
Additional parameters
| Category: | LaskaKit DIY & Arduino Starter Kits |
|---|---|
| Warranty: | 2 years |

